90 Minutes or less: Have Codex deliver you a Website
There’s been a ton of heated debate around coding agents, the current state of AI, and just how disruptive it might be in the short to medium term. You probably know where we stand from our previous post.
What we do agree with, though: for all the talk, there hasn’t been enough walk. So we thought (as usual), let’s buck the trend.
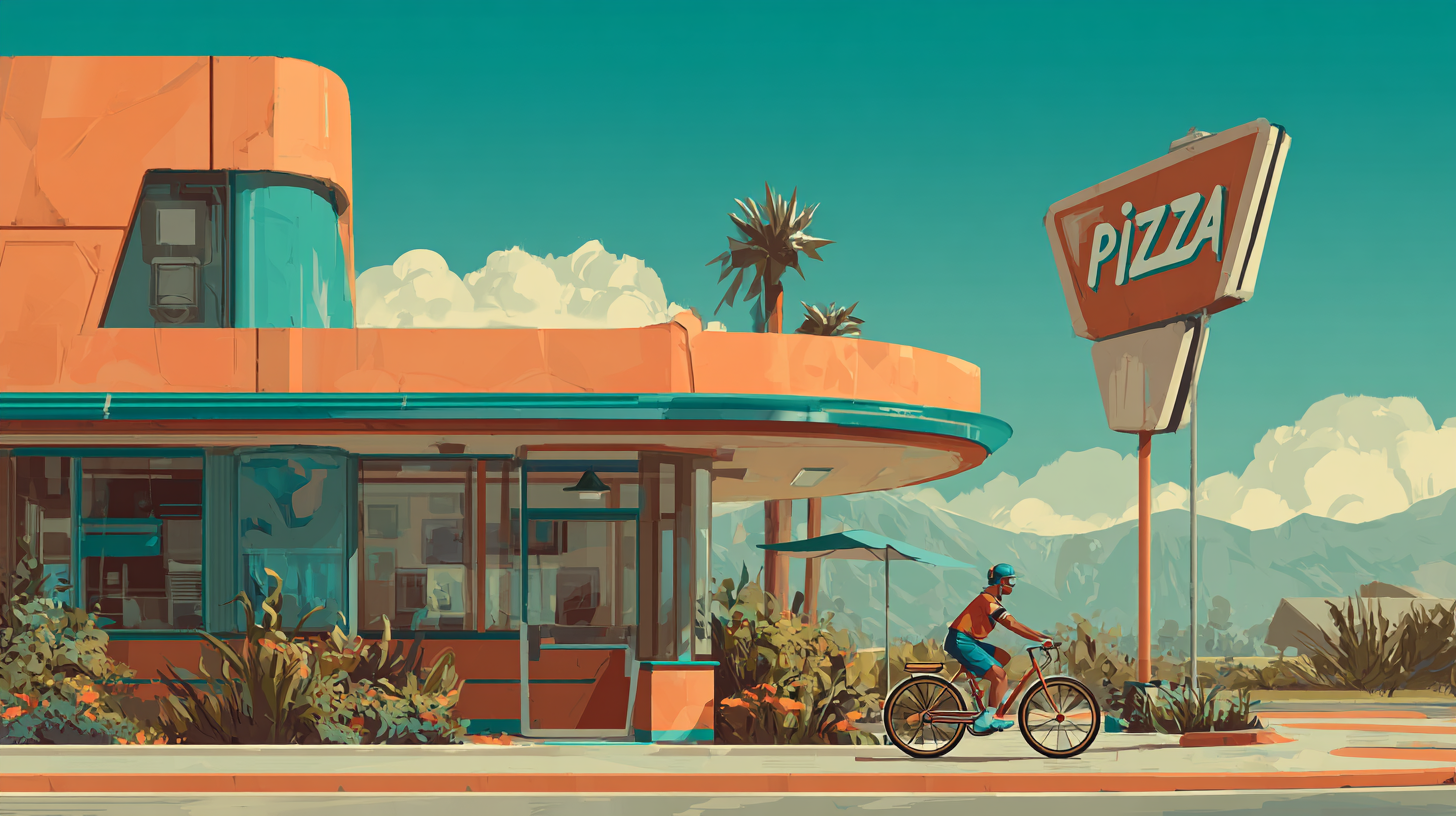
This is a guide to using coding agents (we used Codex) to build a rather snazzy (if we do say so ourselves) website for a fictional pizza chain. Emphasis on fictional. If you want real pizza, try Cafe28 or Coalition (you’re welcome).
We’re not going to tease you and reveal the site at the end. Here it is:
And yes if you're reading this blog 10 years after it was published, we probably took down the site.
Now, the process.
Setting up Codex (without getting spooked by the terminal)
If you’ve got a ChatGPT Plus subscription (the “$20 account”), you’re already holding the ticket. Codex is included with Plus (and other paid plans), and you can sign in with your ChatGPT account.
Codex shows up in a few places, but the simplest way to understand what’s happening is to start with the CLI (the terminal one).
It’s not because we’re trying to turn you into a hacker. It’s because the terminal version makes it obvious what the agent can do: read your files, edit them, run commands, and keep going until it works.
CLI means “Command Line Interface”. It’s a little window (usually black) where you type short commands like:
- “go into this folder”
- “install this tool”
- “start the website”
Mac vs Windows (don’t overthink it)
- macOS: open the built-in Terminal app (press Command + Space, type “Terminal”, hit Enter). You’ll copy and paste a few commands.
- Windows: use Windows Terminal (from the Microsoft Store) or PowerShell.
Install Node.js (so you can run a modern website)
- Go to nodejs.org
- Download the LTS version
- Install it like any other app (Next, Next, Finish)
Node.js installs npm as well. npm is just a package installer.
Confirm it worked:
node -v
npm -v
If you see version numbers, you’re good.
Install and run Codex
Install Codex:
npm i -g @openai/codex
Run Codex:
codex
First run prompts you to sign in.
Login: ChatGPT account vs API key
Codex supports:
- Sign in with ChatGPT (subscription-based access)
- Sign in with an API key (usage-based billing)
For beginners, ChatGPT login is cleaner because you avoid surprise billing.
Model choice (keep it simple)
If you see choices, pick the most capable Codex model available for the main build.
Create your app folder (so nothing ends up scattered)
Before you build anything, create one folder where this project will live. Name it something:
simplypizza
Open your terminal in that folder. If you don’t know how, you can still succeed by just telling Codex:
“I am in the simplypizza folder. Create the project inside this folder.”
Get it running (so you can actually see what you built)
Your first job is getting a clickable link in your browser as early as possible.
What you actually type in Codex
Paste this:
Prompt 1 (build + run it):
Create a new Vite + React + JavaScript app in the current folder. Name the project simplypizza. Then install dependencies and start the dev server. When it’s running, tell me the exact local URL to open in my browser. If anything fails, fix it and try again until it runs.Codex will print a local link that looks like http://localhost:5173. The number may differ. It does not matter. Open the exact link it prints.
If it fails, what you type next
Copy the error from the terminal and paste it into Codex with:
Prompt 2 (fix it):
Fix this error, rerun the app, and tell me the exact local URL again.
That’s the loop.
The part nobody wants to hear: your results depend on your brief
Codex isn’t a mind reader. It’s closer to a very fast contractor.
If your instructions are:
“Make a cool pizza website”
you’ll get something that looks like a template.
If your instructions are:
“Vite + React + JavaScript. 6 pizzas only. Leaflet map with 15 South African branches. 5 languages. Mock reservations. Pop art design. Asset folder structure. Mobile rules. No backend.”
you get closer to something that looks like you paid someone.
This is where that word-of-the-week comes in: taste. It forces you to name what you want.
This article is a cheat sheet for design vocabulary: If you don’t want to read it, here are five “style presets” you can paste into a brief:
- Professional: “Swiss / minimalist, whitespace, strict typography, restrained palette”
- Premium product: “Apple-like, big type, subtle gradients, soft shadows”
- Artsy: “Pop art, bold outlines, halftone textures, comic poster energy”
- Retro: “Synthwave, neon noir, glowing accents, grid motifs”
- Editorial: “Magazine layout, strong hierarchy, photo-forward”
We chose Pop Art because it’s instantly recognisable and punishes sloppy UI.
The missing step: use ChatGPT to write your Codex brief
You don’t start by chatting with Codex. You start by working out what you want with ChatGPT until it’s clear enough to execute.
Step A: Work it out with ChatGPT first (no code required)
Tell ChatGPT:
- what kind of site
- pages you want
- what is mocked
- the design style
- what must happen on mobile
Step B: Ask ChatGPT to output a Codex-ready build spec
Use a prompt like this (this is a shortened version so don't be afraid if you get something much more descriptive):
"Write a Codex-ready build spec for a Vite + React + JavaScript site called SimplyPizza. Constraints: - No backend, no APIs, no LLM calls inside the app. - Must look premium pop-art. - Pages: Home, Menu, Branches, Reserve, About, Reviews. - Features: Leaflet map (15 SA branches), language switcher (English, isiZulu, isiXhosa, Afrikaans, Sepedi), menu (6 pizzas, 6 rocktails), mock reservation + mock cart using localStorage. - Provide exact folder structure and exact asset file names. - Be explicit about mobile vs desktop layout rules."
Then paste the spec into Codex.
Quick guide to the stack: Vite + React + JavaScript
If that sounds like alphabet soup:
- JavaScript is the language running in your browser.
- React is how you build the site out of reusable blocks.
- Vite is the tool that creates the project fast and lets you preview it instantly.
You do not need to become a developer. You need a reliable setup that agents handle well. This is it.
Midjourney images, correctly (this is where most people mess up)
Midjourney is optional, but it’s how you make the site look “expensive” fast.
Two rules:
- Codex cannot see your images.
- ChatGPT must see your images first, then instruct Codex exactly.
Step 1: Generate images in Midjourney with a style reference
A style reference is the cheat code for consistency. It keeps everything in the same brand universe.
If you used something like --sref 2705982429, mention it in your own notes, because it explains why the visuals match.
Step 2: Put images in the project folder in a predictable place
Inside your project, create:
simplypizza/pizza_images/
Drop all images there.
Step 3: Name them like a boring adult
Use names that reflect purpose:
bg_home_hero.pngbg_menu_banner.pngbg_branches_banner.pngpizza_margherita.pngrocktail_purple_haze.pngavatar_1.pngtoavatar_6.png
Do not do final_final_revised7.png. Agents hate that.
Step 4: Upload the images to ChatGPT so it can understand them
You have two options:
Option A (best):
- Zip the
pizza_imagesfolder - Upload the zip to ChatGPT
Option B:
- Upload a batch of the images to ChatGPT (20 at a time is fine)
- Tell ChatGPT: “These are all in /pizza_images at project root.”
Now ChatGPT can actually see what each image contains and what it should be used for.
Step 5: Make ChatGPT produce an “image placement manifest”
You want ChatGPT to output a mapping that Codex can follow without guessing.
Paste this into ChatGPT:
ChatGPT prompt (create the mapping):
I am uploading the images that will live inpizza_images/at the project root. Codex cannot view these images, so you must create a deterministic placement plan.
Output an Image Placement Manifest that lists each filename and exactly where it should be used in the app (page, component, role: hero background, banner, card image, avatar, texture).
Also include 1 sentence per image describing what it shows so I can sanity-check.
Then output a Codex instruction block that wires images exactly according to the manifest. No improvisation.
Now you have a manifest that looks like:
bg_home_hero.png→ Home page hero backgroundavatar_4.png→ Review card avatar for reviewer “X”bg_menu_banner.png→ Menu page top banner
Step 6: Give Codex only the manifest, not the images
You paste the manifest into Codex with this instruction:
Codex prompt (wire images exactly):
You cannot view images. Use the following Image Placement Manifest exactly. Do not guess. Do not rename files. Do not delete files. Implement the placements, then run the site and confirm visually that each page is no longer using placeholders.
That’s the correct chain of custody:
Midjourney makes the visuals, ChatGPT understands them, Codex implements them.
Our workflow, in tangible steps (what we actually did)
We used a simple division of labour:
- ChatGPT wrote the spec and the image placement mapping
- Codex built the app and applied changes
- Midjourney provided consistent visuals
Pass 1: Foundation
Codex created the project, pages, navigation, mock data, language switching, and the map.
Pass 2: Polish
We gave specific changes. Not “make it nicer”, but “change this card background to baby blue” and “make rocktail cards black with white text.”
Pass 3: Simplify when it keeps breaking
If one layout keeps drifting, change the structure so there are fewer moving parts.
If you can’t articulate what’s wrong, use ChatGPT with screenshots
When something looks wrong, take a screenshot and paste it into ChatGPT.
Ask:
Rewrite this as a Codex-ready change request. Include: where the issue is, what to change, what must not change, and how to verify on desktop and mobile.
Then paste that into Codex.
Example output:
"Branches page: - Search bar currently overlaps the map and blocks the Sandton marker. - Move the search bar into the top banner row ABOVE the map, full width. - Do not overlay any UI on the map. - Add a subtle light grey textured background to the search row and match location cards. - Verify Sandton marker is visible and clickable on desktop and mobile."
“But I’m not technical” what you actually need to know
You don’t need to learn React.
You need to know:
- how to run
codex - how to paste a spec
- how to open the local link Codex prints
- how to paste errors back into Codex
- how to upload images to ChatGPT so it can create a placement plan
If you want to copy this playbook tonight
- Pick a project that forces polish (restaurant, gym, event, portfolio)
- Pick a style in one sentence (use that UXPlanet list if you must)
- Use ChatGPT to turn the idea into a Codex-ready build spec
- If using Midjourney, generate images with a style reference
- Put images in
pizza_images/, upload them to ChatGPT, generate an Image Placement Manifest - Run Codex in three passes: foundation, polish, surgical fixes
- Use screenshots + ChatGPT to translate “this looks wrong” into Codex instructions
That’s how SimplyPizza got done quickly, without pretending everyone’s a developer.
And if you’re hungry now, congratulations. The demo worked.